
As , blockchain gaming is revolutionizing the gaming trade with its decentralized nature. So, when growing GameFi or P2E video games utilizing platforms comparable to Unity, a developer should adhere to holding it decentralized. That includes staying away from importing and storing belongings in a centralized method. To take action, builders can use IPFS (InterPlanetary File System) – a protocol for storing contents in a decentralized manner. Nevertheless, you is perhaps questioning, “the right way to add Unity belongings to IPFS?”. Thankfully, this text addresses that actual query. Shifting ahead, we discover our “add to IPFS” dapp (decentralized utility) that we constructed utilizing Unity and Moralis. In consequence, you’ll know the right way to add Unity belongings to IPFS rapidly and simply!
Should you resolve to discover our instance dapp, you’ll discover ways to use the ability of Moralis. Whereas creating your occasion of this Web3 app, you’ll full the preliminary Moralis setup. The latter provides you with entry to the Moralis SDK, which incorporates IPFS integration. As such, importing Unity belongings to IPFS turns into doable. In fact, it’s as much as you to place this “IPFS uploader” dapp to additional use. Hopefully, you’ll discover it helpful when creating your personal Web3 video games. That is additionally the place Moralis will cowl all of your Web3-related backend wants. As an illustration, you’ll simply cowl options comparable to Web3 authentication with this “Firebase for crypto” platform. Additionally, because of Moralis’ cross-chain interoperability, you possibly can goal all supported blockchains. In consequence, you future-proof your Web3 growth progress. So, earlier than transferring on, be certain that to create your free Moralis account.
Importing Unity Belongings to IPFS – Demo
Earlier than we present how you need to use our “uploader” dapp to add Unity belongings to IPFS, we wish to make sure you all know what to anticipate from it. Thus, let’s begin with a fast demo of our dapp. Trying on the screenshot beneath, you possibly can see that with a purpose to use the “uploader” dapp, you want full Web3 login:

After clicking on the “Join” button, this Unity dapp asks us to scan the QR code:

We use our favourite Web3 pockets, MetaMask, to scan the code. As such, we’ll authenticate with MetaMask. As soon as we scan the code, the interface lets us know that the method is in progress:
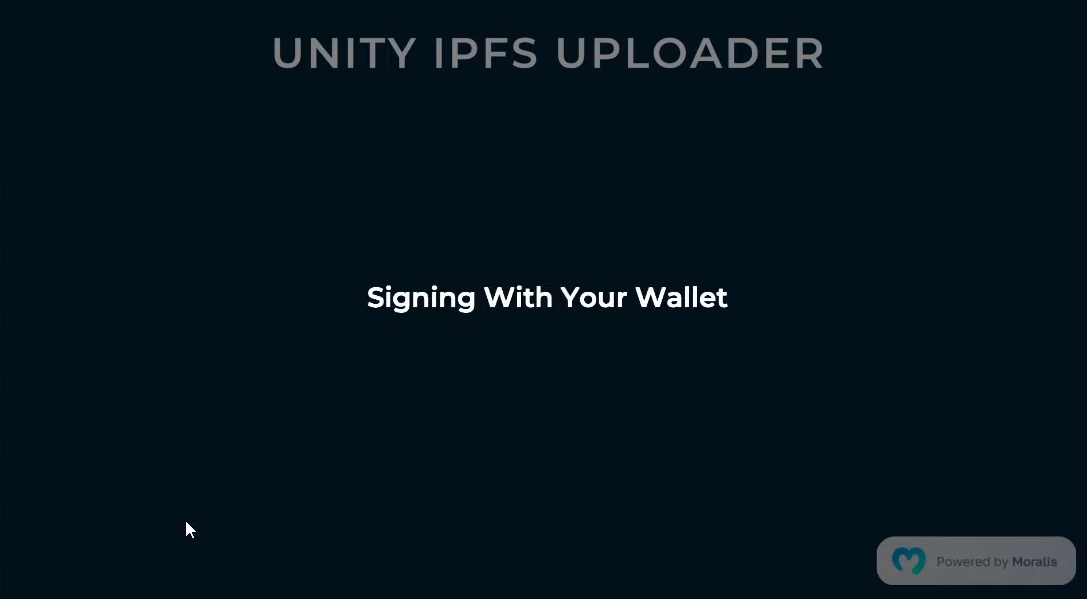
When you verify the “signing” course of in your cell pockets, you will note the interface designed to add Unity belongings to IPFS:

Importing a PNG File
Trying on the above screenshot, you possibly can see that our dapp is kind of easy and intuitive. Even with out our steering, you’d more than likely know the right way to use it. Nevertheless, simply in case, let’s undergo the small print collectively. Within the top-right nook, there’s the “Disconnect” button. The latter will signal you out (disconnect your Web3 pockets). Though, so far as importing Unity belongings to IPFS goes, the “choose” and “add” buttons will do the trick. However, as you possibly can see, there’s no file chosen but. As such, we begin with that. So, as soon as we click on on the “choose” button, a pop-up window seems:
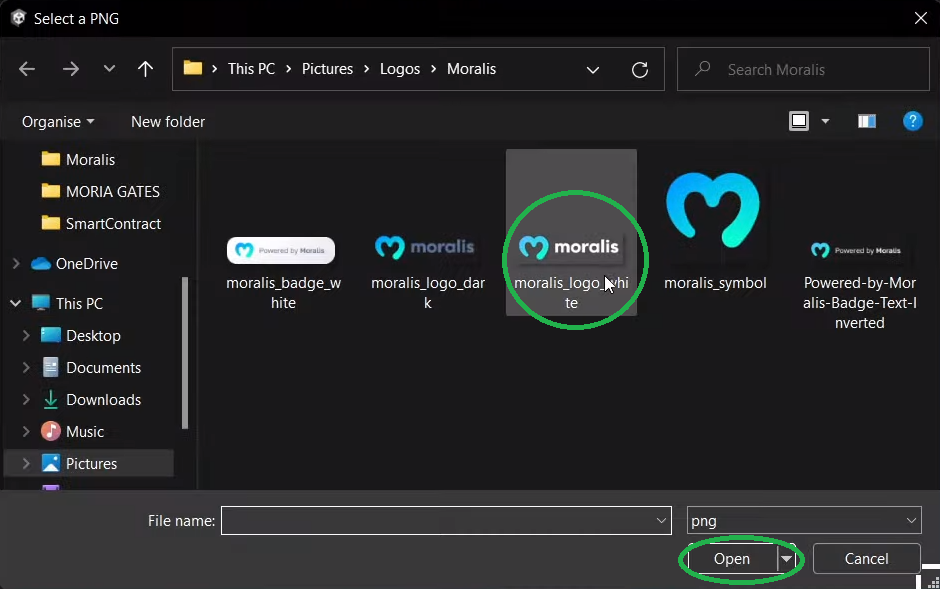
Word: For this instance, we centered on PNG recordsdata; nevertheless, you can additionally use the identical dapp to add different Unity belongings to IPFS.
Utilizing the above pop-up window, we choose a PNG file and click on on the “Open” button. By doing so, our dapp collects the file’s particulars and creates a preview of the picture below the “choose” button:
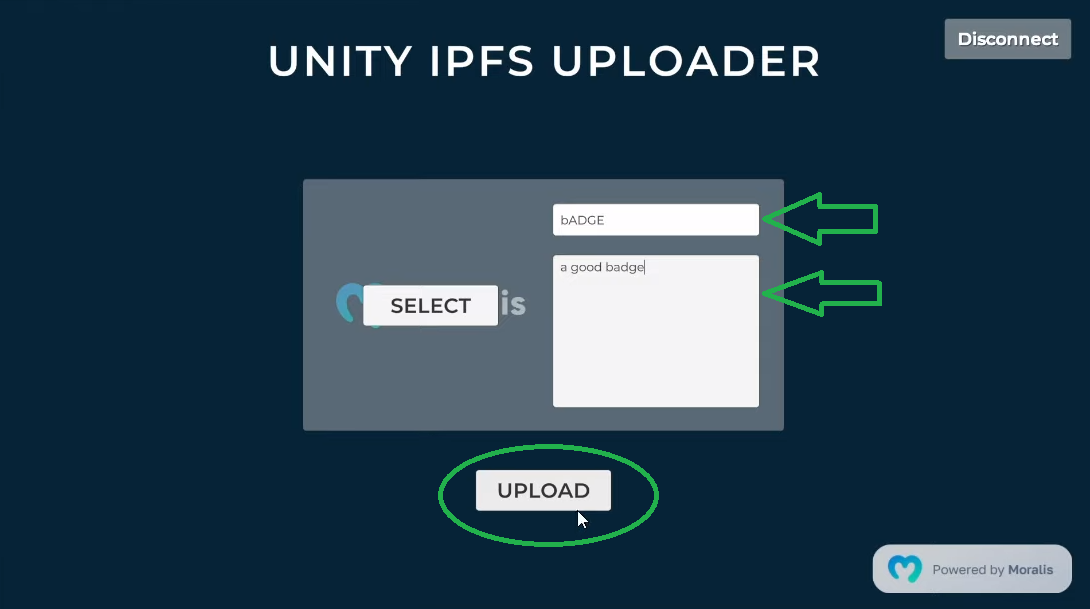
Earlier than we will add the chosen file, we have to enter its identify and outline. As soon as we’ve our file’s particulars in place, we will click on on the “add” button, which uploads one among our Unity belongings to IPFS. As well as, it creates our file’s metadata (“.JSON file”), which can be saved to IPFS:

That’s it for our demo. We hope you just like the simplicity and effectivity of our dapp. If that’s the case, you have to be wanting to find out how you need to use it to add your Unity belongings to IPFS.
Word: Should you’re extra of a video individual, you possibly can test our dapp’s demo in a video format on the finish of this text.

Add Unity Belongings to IPFS Utilizing Our Dapp and Moralis
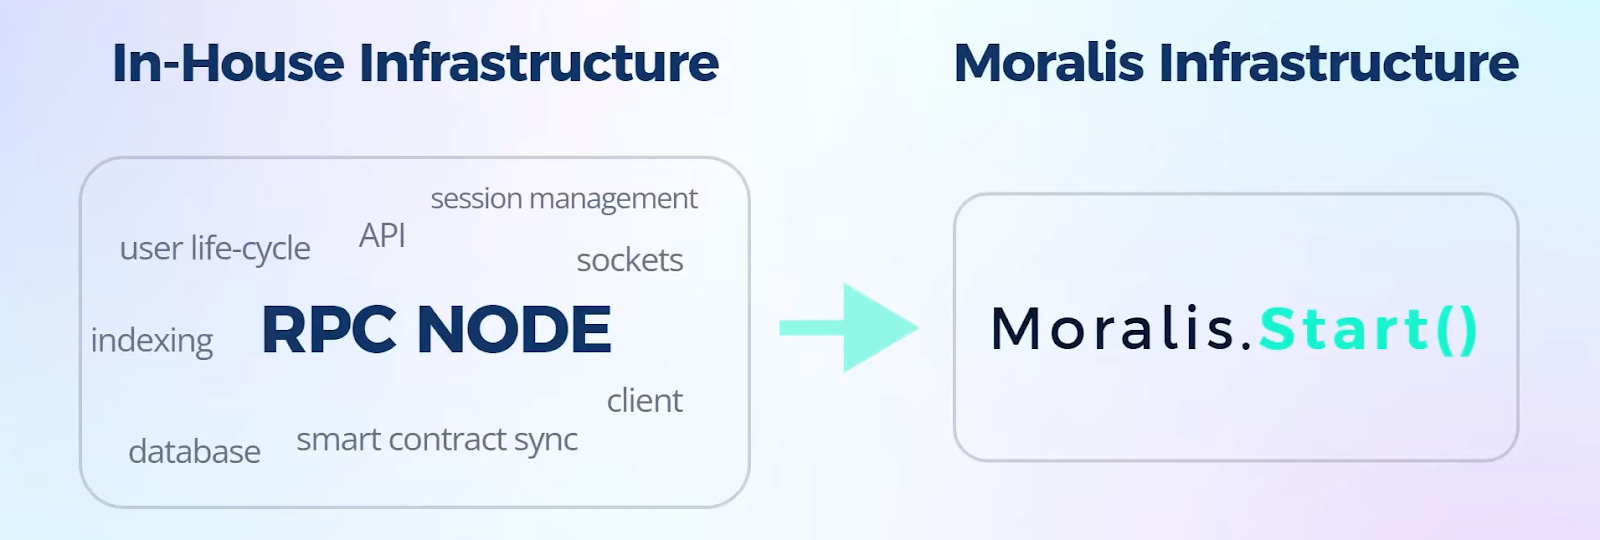
After going via the demo above, you already know the right way to use our dapp. So, let’s now allow you to set it up – that is the place we’ll depend on Moralis. Then, we may even stroll you thru the scripts. Therefore, you’ll find out how our dapp selects picture recordsdata utilizing the native Home windows file browser. Additionally, you’ll uncover the way it uploads chosen Unity belongings to IPFS. That’s the place you’ll be capable to see the ability of Moralis. This pinnacle of the present Web3 tech stack helps you keep away from coping with all the constraints of RPC nodes.
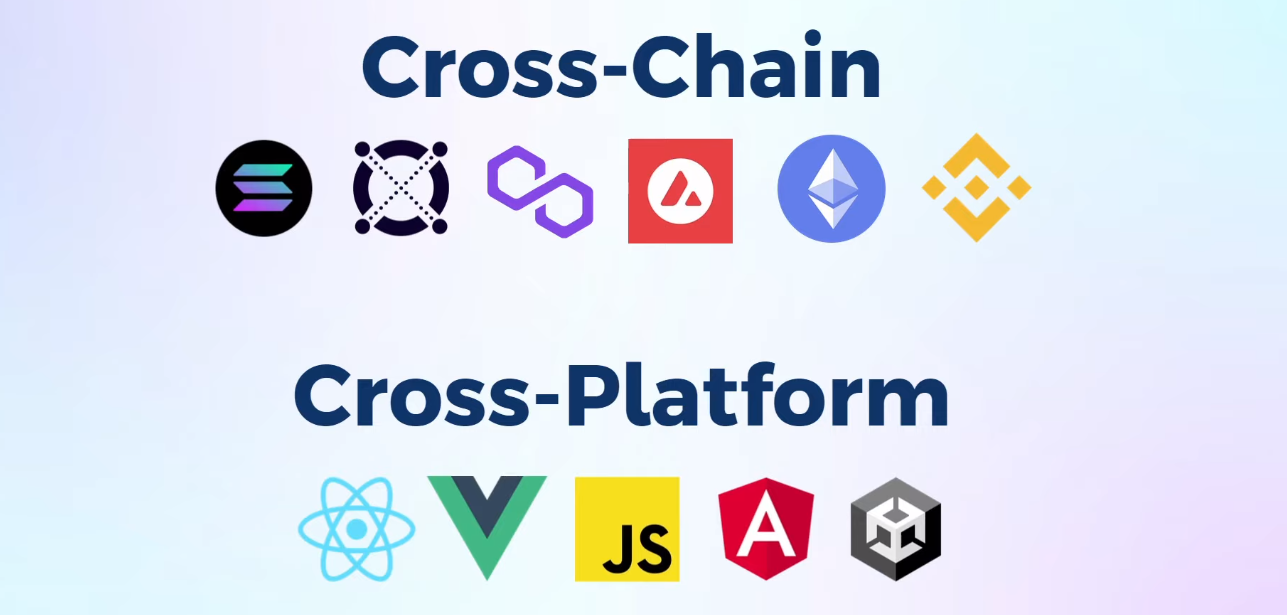
Because of Moralis’ single workflow, such a excessive stage of simplicity is feasible. As an illustration, Moralis affords a brief snippet of code that takes care of authenticating customers. As soon as customers are logged in, Moralis establishes a session and creates identification profiles. The knowledge associated to that session is then saved in a real-time on-chain database (Moralis’ dashboard). The latter is how Moralis allows you to index the blockchain. As well as, you possibly can take issues additional – you possibly can sync and index good contract occasions. In fact, this final Web3 backend platform additionally gives you with Web3 SDKs and APIs (Ethereum API, NFT API, and so on.) to speak with that database. Nonetheless, Moralis can be all about cross-chain and cross-platform interoperability. Accordingly, it provides you a lot choices and can future-proof your work. So, in case you haven’t performed so but, create your free Moralis account earlier than transferring ahead.
Get Our Unity IPFS Uploader Dapp
Begin by downloading our venture – all of the recordsdata and folders await you on GitHub. Then, open the venture in Unity. The very first thing you’ll encounter inside Unity is the Moralis setup panel:

Trying on the screenshot above, you possibly can see that the panel gives you with directions on the backside:
- Create your Moralis account or log in to your present account.
- Create a Moralis dapp, which suggests you should create a Moralis server.
- As soon as your server is up and working, use the “View Particulars” button to get your dapp URL and ID.
Nevertheless, to make issues much more obvious for you, let’s information you thru the above steps.
Moralis Web3 Setup Information
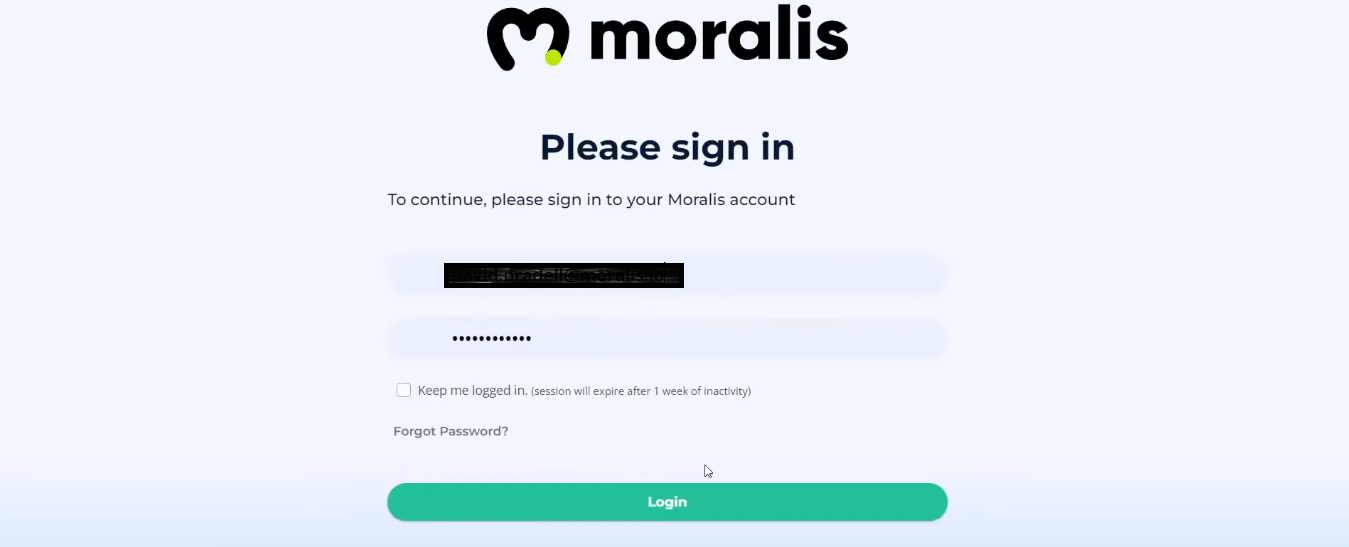
Since you have already got your Moralis account prepared, log in utilizing your credentials:
As soon as inside your Moralis admin space, you should create a brand new server. If that is your first time utilizing Moralis, you will note the next on-screen information:
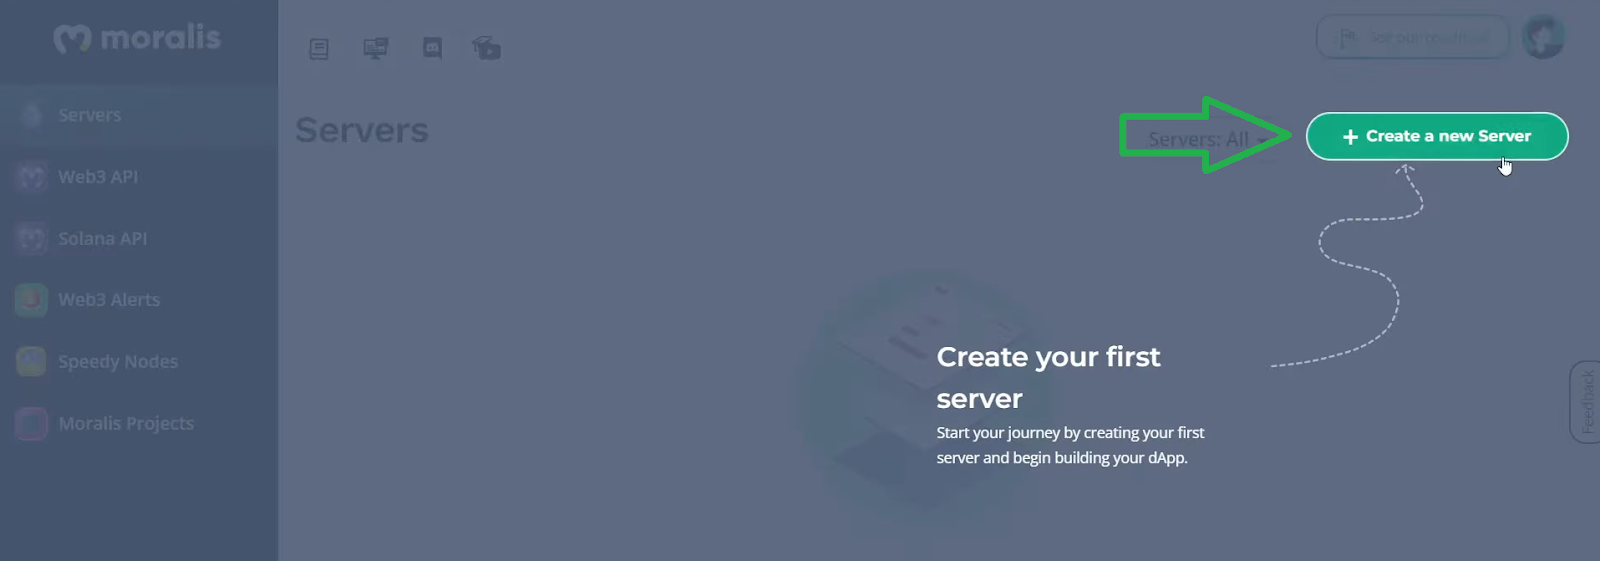
After clicking on the “+ Create a brand new Server” button, a pop-up window providing various kinds of servers will seem:

For the sake of this instance venture, choose “Testnet Server”. We advocate utilizing testnets for all instructional and testing functions. Other than Ethereum testnets and its mainnet, you additionally produce other EVM-compatible networks at your disposal. Nevertheless, earlier than choosing the community, enter your server’s particulars:

The identify of your server might be something you need. For the area, choose town closest to your location. Then, choose the chain you need and at last spin up the server with the “Add Occasion” button. Along with your server up and working, you possibly can entry its particulars. By doing so, it is possible for you to to add Unity belongings to IPFS utilizing our dapp. Use the “View Particulars” button for the above-created server:

After clicking on the above button, you will note a brand new window with all the small print, together with the server URL and utility ID. Lastly, use the “copy” icons to repeat the values to the “Moralis Web3 Setup” panel in Unity:

When you’ve pasted your dapp URL and ID within the designated entry fields, click on on the “Completed” button:

Word: Use your server’s particulars. DON’T use the small print displayed above.
Moreover, we should level out you could change your dapp URL and dapp ID at any time. You’d want to try this in case you created a brand new server, which you’d wish to use to add Unity belongings to IPFS. So, that is the way you go about accessing the above panel:

Launch the Unity IPFS Uploader Dapp
With the above setup accomplished, you’re prepared to make use of our dapp as demonstrated beforehand. To take action, simply click on on the play icon:

As quickly because the reloading is accomplished, you will note the “Join” button, which is the place to begin of our demo above.
Importing Unity Belongings to IPFS – Code Walkthrough
Should you keep in mind the demo, there are two features to importing Unity belongings to IPFS utilizing our dapp. First, we have to choose a file (in our case, a picture). Second, we should add the chosen file to IPFS. So, let’s begin with the “choose” half.
Code Walkthrough – Choosing Recordsdata
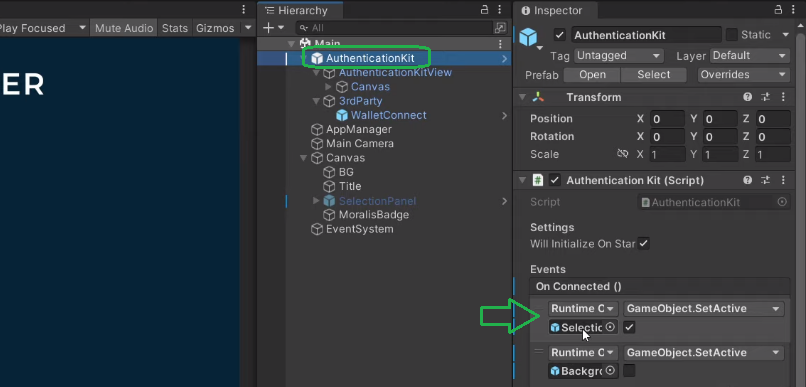
As you possibly can see within the screenshot beneath, we’ve the “SelectPanel” object, which takes care of choosing a picture:
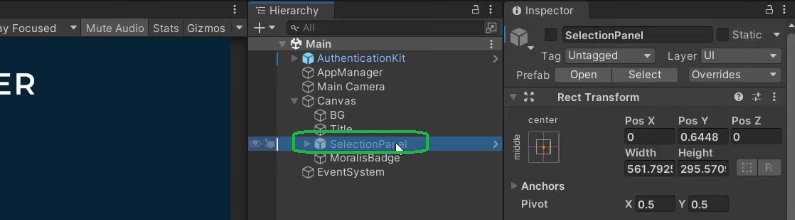
Moreover, we set issues up by utilizing “AuthenticationKit” in order that “SelectionPanel” is activated routinely as soon as a consumer is authenticated.
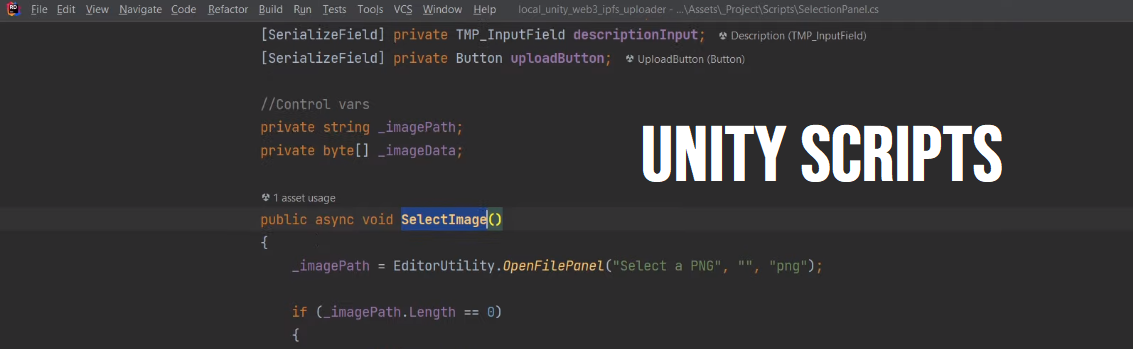
Let’s additionally take a look at the “SelectionPanel” script. The “SelectImage()” perform does many of the heavy lifting after clicking on the “choose” button (see demo). Utilizing the “OpenFilePanel” technique, the perform opens the native Home windows file browser:
_imagePath = EditorUtility.OpenFilePanel(“Choose a PNG”, “”, “png”);
Word: If you wish to use our “uploader” dapp for different forms of recordsdata, you should change the “png” within the above line of code.
The “SelectImage” perform then makes use of the chosen file’s path, reads all of the bytes, and returns the picture information. Subsequent, it makes use of “LoadImage” to create a sprite.
Code Walkthrough – Importing Recordsdata
As soon as we’ve our sprite prepared, we have to add it. That is the place “OnUploadButtonPressed()” (nonetheless contained in the “SelectionPanel”script) comes into play:
public void OnUploadButtonPressed()
{
if (picture.sprite == null || nameInput.textual content == string.Empty || descriptionInput.textual content == string.Empty)
{
Debug.Log(“All fields (picture, identify and outline) should be stuffed”);
return;
}
UploadButtonPressed?.Invoke(nameInput.textual content, descriptionInput.textual content, _imagePath, _imageData);
uploadButton.interactable = false;
}
Trying on the traces of code above, you possibly can see that the “Add” button gained’t work till all three situations have been met. That’s, till we’ve chosen a picture (created a sprite), entered our file’s identify, and its description. As soon as all of the situations are met, the “AppManager” script takes issues over. Inside that script, “UploadToIpfs” ensures that our dapp correctly uploads Unity belongings to IPFS. This perform takes within the file’s identify, description, path, and information (picture information in our case). Furthermore, “UploadToIpfs” first saves the chosen picture utilizing “SaveImageToIpfs”. That is the place the magic of Moralis enters the image through the “UploadFolder” technique:
Record<IpfsFile> resp = await Moralis.GetClient().Web3Api.Storage.UploadFolder(requests);
Basically, the above single line of code uploads Unity belongings to IPFS. Nonetheless, the “AppManager” script additionally ensures that the metadata for the uploaded file is created utilizing “BuildMetadata”. Then, it makes use of “SaveToIpfs” to avoid wasting that metadata to IPFS.
After each the picture and metadata have been uploaded and their URLs created, “AppManager” additionally resets the add button. It does so utilizing the “ResetUploadButton” perform with a purpose to forestall importing the identical file once more.
Right here’s additionally a video tutorial of the above-presented dapp:
Methods to Add Unity Belongings to IPFS – Abstract
At this level, it is best to have your personal occasion of our “add Unity belongings to IPFS” dapp at your disposal. Utilizing our directions, you had been in a position to activate it by getting into your Moralis server’s particulars. Because of the demo above, you additionally had an opportunity to discover ways to use this dapp. Nonetheless, we additionally walked you thru the scripts that guarantee our dapp runs correctly. Moreover, let’s level out that this dapp is a great tool, which you will note once you tackle Web3 sport design with Unity. Though, earlier than you deal with your personal concepts, we advocate you full a few of our different Unity tutorials. That manner, you’ll discover ways to join a Unity app to a Web3 pockets (connecting a Unity sport with Web3 login), talk with a Web3 database from Unity, do blockchain sport transactions with Unity, and even create a metaverse dapp.
Then again, you is perhaps wanting to discover different blockchain growth matters. If that’s the case, be certain that to go to the Moralis weblog and the Moralis YouTube channel. Each of those retailers provide a ton of useful content material and may function your continued free crypto training. As an illustration, a number of the newest articles embrace a crypto sentiment dapp tutorial, blockend growth information, the right way to authenticate Solana customers with Phantom pockets, an NFT on-chain stock system, Solidity good contracts tutorial, and constructing a decentralized Twitter, and way more. As well as, we encourage you to affix Moralis Initiatives for weekly challenges and an opportunity to earn some cool NFTs. Nonetheless, in case you are critical about changing into a Web3 developer, it is best to contemplate enrolling in Moralis Academy.


