Do you need to create a decentralized utility however are overwhelmed with the Web3 tech stack? If that’s the case, this NodeJS Web3 tutorial may also help you get began because it presents the best technique to construct dapps. Moreover, on this article, you could have the prospect to comply with alongside as we tackle a NodeJS Web3 instance that can educate you the fundamentals, and also you’ll discover the important instruments and easy methods to use them. Consequently, you’ll know easy methods to fetch on-chain knowledge, which can be easy due to Moralis’ enterprise-grade Web3 APIs. Furthermore, we determined to make this tutorial as beginner-friendly as potential. Thus, you’ll be capable to full at the moment’s NodeJS Web3 instance by merely copying our code.
As well as, we’ll present you easy methods to receive your Moralis Web3 API key. The latter provides you with entry to the final word Web3 API – your gateway to creating dapps (decentralized purposes). With the facility of Moralis by your aspect, you’ll get to contribute to Web3 with NodeJS with out breaking a sweat.
Moreover, since Moralis is all about cross-chain interoperability, you’ll get to make use of at the moment’s NodeJS Web3 tutorial to sort out varied blockchains. Therefore, you may follow the main programmable chain, Ethereum, or concentrate on different respected EVM-compatible chains. In both case, you should first create your free Moralis account. Nonetheless, earlier than diving deeper into our primary subject, let’s make sure you all know the fundamentals.
What’s NodeJS?
NodeJS, additionally Node.js, is a programming platform or surroundings. It was launched again in 2009, with its main function to assist devs handle a number of the complexities of JavaScript (JS). Furthermore, Web3 with NodeJS expands the probabilities for dapp growth. Additionally, NodeJS was constructed on Chrome’s JavaScript runtime, making it simpler for builders to construct scalable, high-performance apps. Finally, listed below are NodeJS’s core traits:
- Occasion-Pushed, Non-Blocking I/O Mannequin – NodeJS makes use of an event-driven, non-blockchain I/O mannequin. This prevents the node course of from locking up the whole internet utility when retrieving a sole response. As an alternative, it merely frequently runs and strikes on to the subsequent occasion till the occasion queue is empty. Furthermore, NodeJS makes use of a singular occasion mannequin. This mannequin, moreover a library, additionally makes use of an occasion loop as a runtime constructor. That occasion mannequin can begin an occasion loop with out a “blocking name”. Thanks to those options, NodeJS is light-weight, environment friendly, and appropriate for real-time purposes throughout decentralized networks.
- Shopper-Aspect and Server-Aspect – NodeJS is ready to run on the client-side (frontend) and server-side (backend). Accordingly, it enhances using JavaScript. Thanks to those real-time, two-way connections of internet purposes, each the server and shopper can provoke communications and freely change knowledge.
- Reuse Code – NodeJS allows builders to reuse code. That is the place the NodeJS packing supervisor (NPM) enters the scene. Additionally, builders can full their programming duties with over one million packages. Moreover, builders who run JavaScript-heavy purposes significantly profit from reusing code. That method, they keep away from the added burden of context-switching between edit and search instruments.
Nonetheless, correct help for real-time knowledge change and communication is important when coping with public blockchains, which is precisely what NodeJS helps.

Why Use a NodeJS Web3 Instance from Moralis?
The above picture reveals the primary benefits of NodeJS for builders and customers. These key advantages are compelling as they tackle some necessary facets of making internet purposes. The vast majority of these execs come from the core NodeJS traits offered within the earlier part. Therefore, when exploring NodeJS, it’s undoubtedly price studying easy methods to use NodeJS the simple method. That is the place the Moralis NodeJS Web3 tutorial enters the scene. In at the moment’s instance, you’ll be taught to dive into Web3 with NodeJS and study Moralis and its highly effective API. Consequently, you’ll be capable to use the instruments that this API supplier provides to take your Web3 growth recreation to the subsequent stage.
With that stated, ensure to roll up your sleeves and comply with our lead.

Create a Dapp for Web3 with NodeJS – NodeJS Web3 Tutorial
In the event you resolve to comply with our lead as we tackle at the moment’s NodeJS Web3 tutorial, you’ll be taught to finish the next 5 steps:
- Create a NodeJS Software
- Import and Set Up the Newest Moralis JS SDK
- Set Up a Easy Specific Server
- Combine Your App with Moralis Companies
- Fetch Blockchain Information
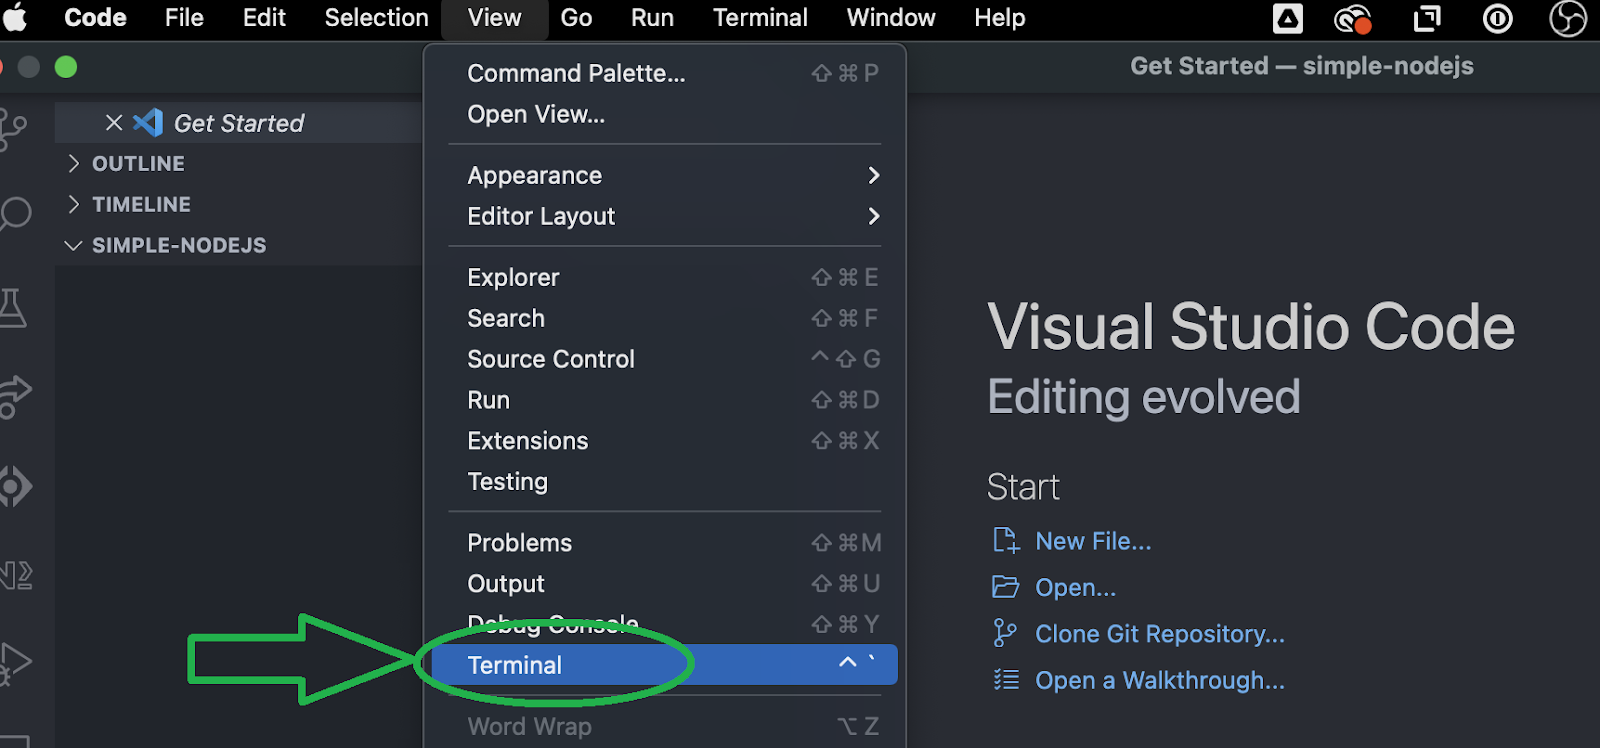
As you may see, there’s numerous floor to cowl. Thus, let’s dive proper into step one. However earlier than transferring any additional, be sure to have Visible Studio Code put in and arrange, NodeJS put in, and your free Moralis account prepared. These are additionally the three stipulations to at the moment’s quest. Subsequent, launch your VSC terminal and comply with our lead:
Create a NodeJS Software
We’ll first create a brand new folder and open it in Visible Studio Code (VSC). We’ll identify our folder “Easy-NodeJS”. Then, we use our terminal and enter the “npm init” command. Subsequent, we identify our venture and follow the default choices by urgent enter a couple of occasions. By doing so, we find yourself with a brand new “package deal.json” file that features the next traces of code:
{
  "identify": "simple-nodejs-demo",
  "model": "1.0.0",
  "description": "",
  "primary": "index.js",
  "scripts": {
    "check": "echo "Error: no check specified" && exit 1"
  },
  "writer": "",
  "license": "ISC"
}
Import and Set Up the Newest Moralis JS SDK
With regards to importing and organising the newest Moralis JS SDK, we solely have to execute a single command. Basically, we simply want to put in the “moralis” dependency. Nonetheless, we are able to use a single command to additionally set up the “categorical” dependency. So, we proceed by coming into the “npm set up moralis categorical” command in our terminal.
npm set up moralis categorical

Set Up a Easy Specific Server
By coming into the above command, we have already got the “categorical” dependency put in. Therefore, we are able to proceed with organising a easy Specific server. Create the “index.js” file and use the next traces of code:
const categorical = require('categorical')
const app = categorical()
const port = 3000
app.get('/', (req, res) => {
  res.ship('Hi there World!')
})
app.pay attention(port, () => {
  console.log(`Instance app listening on port ${port}`)
})
We should additionally revisit the “package deal.json” file and add the “begin” script:
"scripts": {
  "begin": "node index.js"
},
Now that our “index.js” file is prepared and we’ve set the “begin” script in place, we are able to run our Specific server. Once more, a easy command – “npm run begin” – is all we want. Then, we are able to use our favourite browser to go to “http://localhost:3000″ and ensure it shows the “Hi there World!” greeting.

Combine Your App with Moralis Companies
With the primary three steps of our NodeJS Web3 tutorial below our belts, it’s time we concentrate on integrating our app with Moralis providers. So as to full this step, we’ll use the above-created “index.js” file. That is the place we’ll paste in our Moralis Web3 API key. Nonetheless, we should first import Moralis and the “EvmChain” knowledge sort:
// Import Moralis
const Moralis = require('moralis').default
// Import the EvmChain dataType
const { EvmChain } = require("@moralisweb3/evm-utils")
Then, we add the "MORALIS_API_KEY", "tackle", and "chain" variables:
// Add a variable for the API key, tackle, and chain
const MORALIS_API_KEY = "replace_me"
const tackle = "replace_me"
const chain = EvmChain.ETHEREUM
As you may see above, we have to substitute the “substitute me” placeholder with our precise API key. We’ll try this in a bit, however let’s additionally level out that we determined to concentrate on the Ethereum chain. Nonetheless, we may’ve simply targeted on some other EVM-compatible chain Moralis helps:
- Ethereum Testnets:
- ROPSTEN
- RINKEBY
- GOERLI
- KOVAN
- SEPOLIA
- POLYGON
- MUMBAI
- BSC
- BSC_TESTNET
- AVALANCHE
- FUJI
- FANTOM
- CRONOS
- CRONOS_TESTNET
Earlier than we receive our Moralis Web3 API key, we additionally have to initialize Moralis with the next traces of code:
const startServer = async () => {
  await Moralis.begin({
    apiKey: MORALIS_API_KEY,
  })
Moralis Web3 API Key – Find out how to Get It?
To get the Moralis Web3 API key, log in to your Moralis account. As soon as inside our admin space, you should go to the “Web3 APIs” web page. There, use the copy icon to repeat the API key. Mainly, acquiring your Moralis Web3 API key is an easy two-step course of:

In fact, we should return to our “index.js” file and paste the above-copied key subsequent to the “apiKey” variable. Finally, that is the content material of our “index.js” file up to now:
const categorical = require('categorical')

// Import Moralis
const Moralis = require('moralis').default

// Import the EvmChain dataType

const { EvmChain } = require("@moralisweb3/evm-utils")
const app = categorical()
const port = 3000

// Add a variable for the api key, tackle and chain

const MORALIS_API_KEY = "replace_me"
const tackle = "replace_me"
const chain = EvmChain.ETHEREUM
app.get('/', (req, res) => {
  res.ship('Hi there World!')
})

// Add this a startServer operate that initializes Moralis

const startServer = async () => {
  await Moralis.begin({
    apiKey: MORALIS_API_KEY,
  })
  app.pay attention(port, () => {
    console.log(`Instance app listening on port ${port}`)
  })
}

// Name startServer()

startServer()
Fetch Blockchain Information – Web3 with NodeJS Examples
Now that we’ve accomplished the above 4 steps, it’s time we discover Web3 with NodeJS. That is the a part of at the moment’s NodeJS Web3 tutorial the place you’ll learn to fetch native stability, ERC-20 stability, and NFTs. Thankfully, the Moralis API provides highly effective and sensible endpoints for every of those blockchain items of knowledge. So, let’s have a look at three highly effective examples of fetching on-chain knowledge.

Fetch Native Stability
With regards to fetching the native stability, which in our case is the Ethereum stability, we are able to use Moralis’ “getNativeBalance” endpoint. To make use of this endpoint in our “index.js” file, we’ll create the “getDemoData” operate:
async operate getDemoData() {
  // Get native stability
  const nativeBalance = await Moralis.EvmApi.stability.getNativeBalance({
    tackle,
    chain,
  })
  // Format the native stability formatted in ether by way of the .ether getter
  const native = nativeBalance.outcome.stability.ether
  return { native }
}
Trying on the above traces of code, you can too see that we’re utilizing “.ether” to show the native stability within the correct format.
Notice: You may discover the whole array of Moralis’ EVM API endpoints within the Moralis documentation.
As well as, for our dapp to correctly return the outcomes of the above “getDemoData” operate, we should additionally add the “/crypto-data” endpoint:
app.get("/demo", async (req, res) => {
  attempt {
    // Get and return the crypto knowledge
    const knowledge = await getDemoData()
    res.standing(200)
    res.json(knowledge)
  } catch (error) {
    // Deal with errors
    console.error(error)
    res.standing(500)
    res.json({ error: error.message })
  }
})
Basically, the traces of code above allow us to name the “/crypto-data” endpoint utilizing the “http://localhost:3000/demo” tackle. This name returns the native stability within the following format:
{
    "native": "0.169421625822962794"
}

Fetch ERC-20 Stability
With regards to fetching ERC-20 balances, issues comply with the native stability’s lead. As such, we have to full steps much like those above. Nonetheless, this time we concentrate on utilizing the “getWalletTokenBalances” endpoint from the “token” API group:
    // Get token balances
  const tokenBalances = await Moralis.EvmApi.token.getWalletTokenBalances({
    tackle,
    chain,
  })
  // Format the balances to a readable output with the .show() technique
  const tokens = tokenBalances.outcome.map((token) => token.show())
  // Add tokens to the output
  return { native, tokens }
}
Trying on the traces of codes above, you may see that we once more make sure the balances are displayed correctly. We additionally added “tokens” to our “return” parameter.

Fetch NFTs
Lastly, we are going to full the final stage of our NodeJS Web3 instance – fetching NFTs. To do that efficiently, we’ll but once more implement related traces of code as for the native and ERC-20 balances. This time, we are going to use the “getWalletNFTs” endpoint from the “nft” API group. Moreover, we are going to concentrate on fetching the primary ten NFTs for a given tackle. In fact, we are going to do that with our “getDemoData” operate. As well as, we additionally have to format the output correctly. Nonetheless, we should not overlook so as to add “nfts” to “return“:
  // Get the nfts
  const nftsBalances = await Moralis.EvmApi.nft.getWalletNFTs({
    tackle,
    chain,
    restrict: 10,
  })
  // Format the output to return identify, quantity and metadata
  const nfts = nftsBalances.outcome.map((nft) => ({
    identify: nft.outcome.identify,
    quantity: nft.outcome.quantity,
    metadata: nft.outcome.metadata,
  }))
  // Add nfts to the output
  return { native, tokens, nfts }
}
NodeJS Web3 Tutorial – The “index.js” Instance File
At this level, we’ve efficiently carried out profitable fetching of the native stability, ERC-20 stability, and NFTs in our NodeJS dapp. Consequently, we’ve completed our NodeJS Web3 tutorial. Nonetheless, to help you even additional and provide help to keep away from making any errors whereas placing the above traces of code collectively, you’ll find the whole code beneath. Merely copy and paste it into VSC. Additionally, bear in mind to interchange “replace_me” with the “MORALIS_API_KEY” variable. Nonetheless, if you wish to discover different blockchains, substitute “ETHEREUM” with one of many different supported chains as listed within the “Combine Your App with Moralis Companies” part above.
So, right here’s the whole code for the “index.js” file:
const categorical = require("categorical")
const Moralis = require("moralis").default
const { EvmChain } = require("@moralisweb3/evm-utils")

const app = categorical()
const port = 3000

const MORALIS_API_KEY = "replace_me"
const tackle = "0x9e8f0f8f8f8f8f8f8f8f8f8f8f8f8f8f8f8f8f8f"
const chain = EvmChain.ETHEREUM

async operate getDemoData() {
  // Get native stability
  const nativeBalance = await Moralis.EvmApi.stability.getNativeBalance({
    tackle,
    chain,
  })

  // Format the native stability formatted in ether by way of the .ether getter
  const native = nativeBalance.outcome.stability.ether

  // Get token balances
  const tokenBalances = await Moralis.EvmApi.token.getWalletTokenBalances({
    tackle,
    chain,
  })

  // Format the balances to a readable output with the .show() technique
  const tokens = tokenBalances.outcome.map((token) => token.show())

  // Get the nfts
  const nftsBalances = await Moralis.EvmApi.nft.getWalletNFTs({
    tackle,
    chain,
    restrict: 10,
  })

  // Format the output to return identify, quantity and metadata
  const nfts = nftsBalances.outcome.map((nft) => ({
    identify: nft.outcome.identify,
    quantity: nft.outcome.quantity,
    metadata: nft.outcome.metadata,
  }))

  return { native, tokens, nfts }
}

app.get("/demo", async (req, res) => {
  attempt {

    // Get and return the crypto knowledge
    const knowledge = await getDemoData()
    res.standing(200)
    res.json(knowledge)
  } catch (error) {
    // Deal with errors
    console.error(error)
    res.standing(500)
    res.json({ error: error.message })
  }
})

const startServer = async () => {
  await Moralis.begin({
    apiKey: MORALIS_API_KEY,
  })

  app.pay attention(port, () => {
    console.log(`Instance app listening on port ${port}`)
  })
}

startServer()
NodeJS Web3 Tutorial – Create Dapps Utilizing a NodeJS Web3 Instance – Abstract
Immediately’s information was all about utilizing NodeJS for Web3 growth. As such, you had an opportunity to comply with our NodeJS Web3 tutorial and create your personal backend dapp. You additionally discovered easy methods to set Moralis’ Web3 functionalities in place and easy methods to make Web3 API calls to fetch all kinds of on-chain knowledge. Consequently, you are actually able to take your dapp growth additional. As an example, you may take the above backend and easily hyperlink it to a React or NextJS app. Alternatively, chances are you’ll take a good sooner path by merely utilizing our final Web3 web site template.
We encourage you to stage up your Web3 growth expertise by taking over tutorials that await you within the Moralis documentation, the Moralis YouTube channel, and the Moralis weblog. These shops may also help you grow to be a blockchain developer free of charge. As an example, a number of the newest matters present you easy methods to join dapps to Cronos, construct BNB Chain dapps, arrange and join a dapp to the Ethereum community, join a dapp to Polygon, clone Zapper, easy methods to combine blockchain-based authentication, arrange a self-hosted Parse Server, and way more.
You may additionally need to discover skilled blockchain growth programs at Moralis Academy. As an example, you may enroll in a course that can educate you easy methods to construct a DEX (decentralized change) utilizing JavaScript. Nonetheless, by finishing the programs at Moralis Academy, you grow to be blockchain licensed. In flip, you enormously enhance your probabilities of touchdown your crypto dream job. Enroll in Moralis Academy at the moment, and take your first steps towards a life-changing profession!